Showing posts with label Flooring. Show all posts

How We Refinished Our Hardwood Floors

Hey Blogland

I'm Hasani aka Mr.CLH this is my first official post so go easy on me lol .

We decided to re-do the floors because they looked every bit of their 50 + years. At one time there was carpet on the floor so in some areas you could see where someone had a hard time removing it and the color of the wood was a huge distraction at times. It didn't feel like us. Our hardwood floors before:


Prepping Our Floors

At first we both had our hearts set on a really dark brown for the new floors but then decided to go with a more natural color Minwax's Early American. After moving all the furniture into the garage and kitchen the first thing my Father and Law and I did was sweep all the floors and used a dry vacuum to remove any dust. Before sanding we taped off all the vents so that the dust wouldn't get stuck in them, we even put a large plastic bag around our bedroom chandelier. I tired really hard not use news paper with good coupons on them but some had to be sacrificed for the good of the house lol.

The Sanding Process

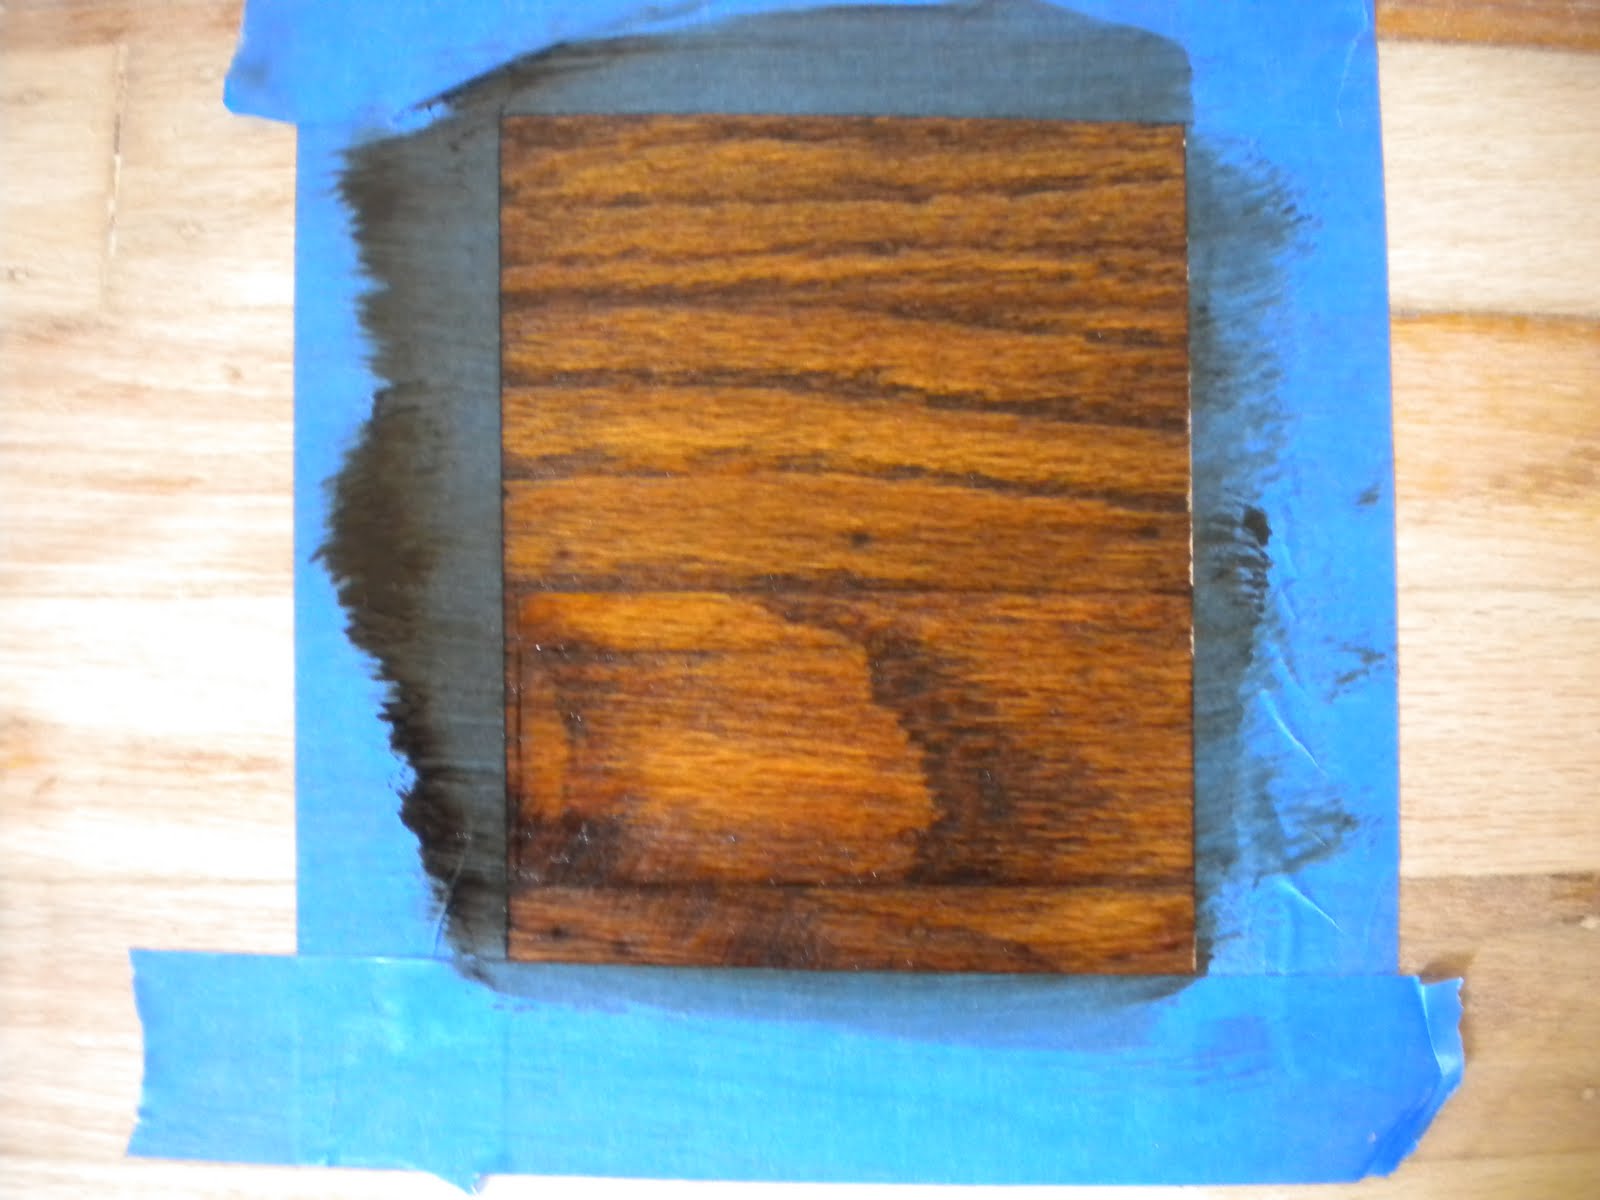
Next we sanded the floors using a drum belt sander and a edge sander (a heavy duty hand held sander for the edges and corners) we rented from HD HOME SUPPLY way cheaper than any other place we looked, and the had a 20% off rental special that weekend, bonus. We used 36 grit sandpaper to start the process. We did a test area in a closet to see how well the old stain was coming up. It's always good to test in an area like the closet.

When sanding the floors you want to so back and forth in the directions of the wood grain, don't stop in one place or you good leave gauges in your wood. My Father in Law used the drum belt sander, we started in the nursery first.


After he finished a room, I used the edge sander for the corners and edges of the floor its really good for the hard to reach areas and around the base boards and corners. It get really tiring since your on knees the entire time (I wore knee pads which really helped) But its the only way to get those hard to reach areas and make your DIY project look professional.


It took us about 12 hours split up between two days to get all the floors completely sanded. I really liked how the bare floors looked. We did one last lap on the floors using a 100 girt sandpaper, gives the wood a nice smooth finish. After the floors were completely sanded we still had to remove dust from the floors (even though there was a bag attached to both sanders) we used a small amount of water and 'damp mopped the areas.' Next we waited for the floors to completely dry before applying the stain.


(The Nursery)


( Tabari's Room )


(Living Room Floor)

We chose the color Early American after a quick trip to Home Depot right after the floors were bare of old stain, we test, new oak wood right in the store, Katrina and I agreed we liked how the color look instantly. Again we used a closet to test the color of the stain making sure the color looked good on our old floors.
We got a GOOD price on 2.5 gallons of Poly, on clearence.


Applying Stain

We used small water container to pour the stain on the floors. We used a lambs wool applicator and lint free towel to apply the stain on the floors. Make sure you apply the stain following the direction of wood grain. Then we wiped the excess stain off using the lint free towel waiting only a few minutes between wiping. We only had to wait a five minutes because the floor was soaking up the stain quick and we didn't want the color to be too dark. After wiping away the first section, I got excited. I could tell the floors where going to look really nice.


The hardest part about working with the stain for me was keeping my hands from touching the walls. I had to touch up paint many parts of our the walls!


Once the entire floor is covered in stain you have to wait 24 hours before applying the second coat thank god we only needed one coat. I think two coats of stain would have been to much. We used almost 2 gallons of the stain we bought.

Applying the Poly

The next day we applied the poly. We did a light sanding using a 120 grit sandpaper and then removed dust. This time we used a floor orbital sander my father brought with him. Before applying the poly, my Father in Law thinned out the poly with paint thinner. By thinning out the paint thinner the poly was easy to pour on the floors. Make sure you talk with your local paint store before before thinning out poly. My Father in Law has lots experience thinning out paint and ploy and knows the ratio (poly & paint thinner). He worked well under my supervision, lol.


Again we used a thin nosed watering can to pour the poly on the floors. My Father in Law applied the poly on the floors, since he is experienced at at. He used a weighted pole, again he followed the grain of the wood floors and was very careful not to leave lap marks. Which can happen easy with poly. We waited another 24 hours before applying the second coat of poly. After the last coat of poly was applied we wait 72 + hours before returning home.

Budget Breakdown:

Floor Sander Rental: $ 32 (after 20% off discount) 24 hr Rental
Edge Sander: $ 21.75 (after 20% off discount) 24 hr Rental
Sand Paper - Gift from Father in Law
2 Gallons of Minwax Early American Stain: $ 43.88 - Used a Lowes $ 10off Coupon at Home Depot! Gotta Love Price Matching
2.5 Gallon of Minwax High Build Poly: $ 26.79 (on clearance! at Lowes)
Oil Varnish Applicator: $ 6.78
Labor for Father in Law's Help: Dinner at Sizzlers, his favorite restaurant: Priceless

Total Cost $ 131.20 to refinished our Living Room, Hallway and Three Bedrooms

While we where at Home Depot looking for stain we noticed an ad for refinishing hardwood floors, the cost $ 4.00 a sq foot. We estimate having our wood floors done though them would have cost us around $ 4000-

Savings, just a measly $ 3800- give or take a few bucks

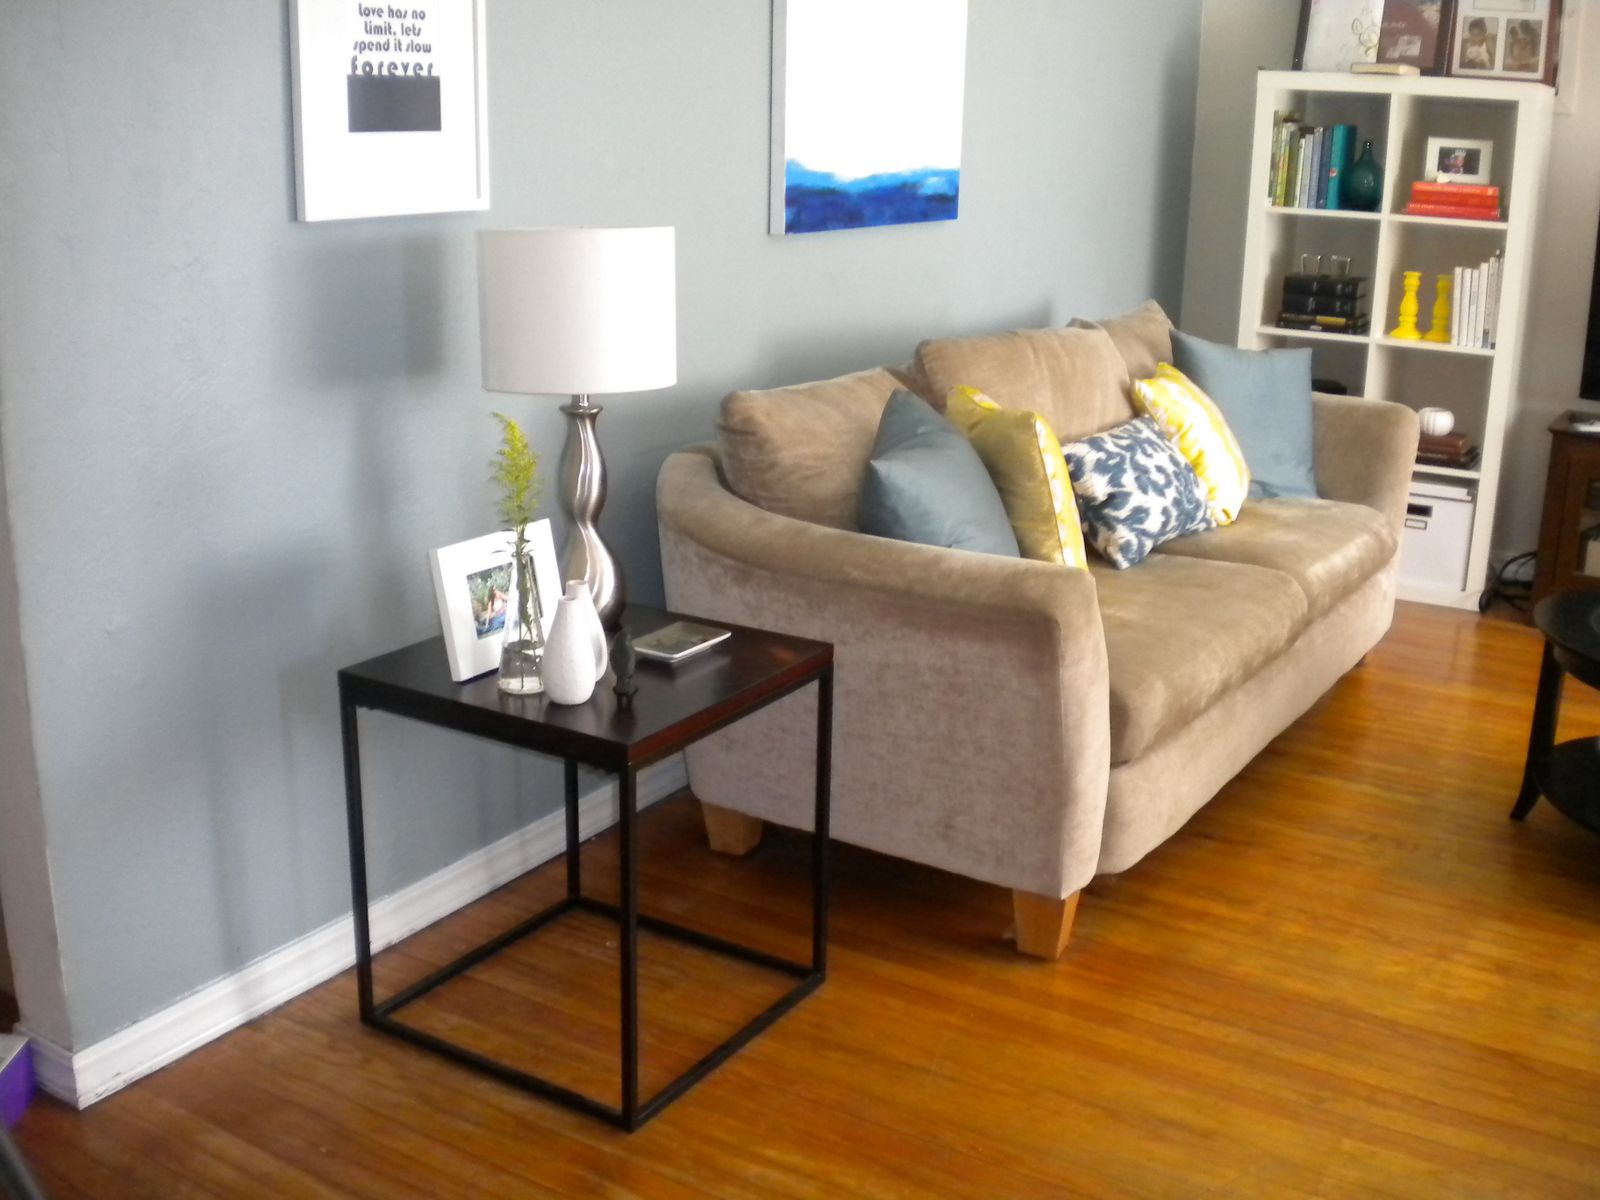
I love the new floors its dark like we originally wanted and still has natural earth tones. I also like how our wood floors have charactor and like the various shades of color. Here's our floors now (we'll share more picutres of the after, once Katrina and I finish up a few changes in the rooms)


( The Nursery)


(Our Bedroom)

Thanks for reading if you have any questions feel free to ask .Good luck if you decide to take on this project its a lot of work but well worth it.

*Remember to do your the research 1st before taking on this project, prices may vary in your area the stain make take different on your floors.

Mr. CLH

Well Hello, Refinished Hardwood Floors!

Remember my whole house project I mentioned a couple weeks back? Well over the past two weekends, we took the plunge and refinished our hardwood floors. DIY style of course! This isn't the first time we've talcked a whole house project DIY style, remember we painted our entire house in a weekend. We saved a bunch of moohlah and a blast even though its hard work. Let's talk about how our floors originally looked when we moved into our 1956 rancher. Plus why we waited to until my 7th month of pregnancy before taking on this dusty / smelly project. Here's a reminder how our floors once looked like.


One thing that we really loved about our Rancher was the wood floors & no carpet, which is a plus when your husband has asthma and a slew of allergies and your kid inherited a few too! Originally Mr. CLH & I talked about having our floors refinished when we fist moved into our house January 2009 - but we decided to wait and do it later. I'm so glad we did! Why? Well at the time we were still discovering our style in our little Rancher and most likely would have went with a color that now isn't US. And your home should always feel like you, right?


We started talking about going the DIY route refinishing our floors ourselves after finding out I was pregnant, basically it was now or never or 7 months later. After having a conversation with my dad when he was in town visiting, he offered to help Mr. CLH on the project and refinish the floors. We wanted to wait until the weather warmed up, which improves dry time, working conditions & moral. So finally we choose a date, the first weekend in April. Which lands on my birthday making this an awesome birthday present from my husband and my dad to me. 


After much talk and looking at stain options, Mr. CLH and I decided to go with Early American by Minwax for a couple of reasons. We liked how the color looked on our test we did in the closet. A deep color without being too dark. We loved the variations in the wood grain with the stan, to us thats the beauty of or refinishing old hardwood floors. We loved the imperfections and the 'movement' the stain created on the floors. 


Here's some before pictures of our original hardwood floors, in their orange glory. In some places our wood floors were still in 'solid condition' others not so much. Which is not too surprising since the floors are over 50 years old and we learned from our neighbors there was once carpet in the entire house covering up the floors. 


I'm loving our floors now, the rich dark floors so much! Removing the old finish and sanding down the floors to the natural wood grain, staining them and ploying makes the house feel CLEAN. Let me tell you no matter how ofter I would swiffer or clean the floors, they never looked 1/2 this good. They really help ground our space and make our home appear larger. The dark floors had the same affect in our tiny dining room.

The nusery floors before


After being sanding down to the bare wood, love how fresh the bare wood looked. Look at cute Mojo peaking though the door.


Nusery floors now = LOVE
I'll have more pictures of our hardwoods floors soon. Mr. CLH is working on a 'How To' post and adding up the cost for refinishing our floors DIY style. Trust me we SAVED a lot of money, had mini break downs from frustration (me) got giddy over looking at color, but in the end it was all worth it. 

What do you think of our refinished hardwood floors?

Photobucket

Floored: Options, Options

The next step in getting closer to our dining redo is replacing our cracked, fugly tile in the dining room and kitchen. Since we have original 1956 hardwood floors (yet to be re-finished) we want our new wood floors to compliment our excisting ones. I really like how dark flooring looks in a room, so we are thinking a dark walnut color will look nice. We are considering a few flooring options: Faux wood, Engineered Hardwood, and Bamboo - Real wood won't be an option - too pricey. BUT I ordered a sample to see how our original floors will look after they are refinshed.

Here are some flooring options we are considering:


From the left:
#1 Bamboo 'Congo'
#2 Real Wood 'Oak Mocha' 
 #3 Faux 'Wine Barrel Oak'  
#4 Faux  'Arktos'

Which ones do you like? I knocked on each sample! I know silly, but I wanted to see which one sounds more like 'real wood'

I prefer # 1 Bambo 'Congo' and of course # 2  Real Wood 'Oak Mocha' -- we plan on refinishing our wood floors with this color


{ better picture of my favorites side by side and a BETTER picture of our FUGLY tile, I think the grout is just stained that nasty dirt color! fun. }

We plan on ripping up on tile next month, new year new floors - can't wait! Have you ripped up tile before? Was it easy peasy? - please share.

We still have a little price comparing to do. I ordered the above samples from ifloors.com, they have a great selection and awesome per sq. price HOWEVER I'm not sure if I'm feeling there hefty shipping charges. Untill then I've been drooling over these dining rooms and the floors simular style to what we want our space to feel like: light and airy grouned by dark rich wood floors. I alse like these dining rooms here.

Isn't the space below amazing! The light fixture, the two buffets - kind of feels Art deco meets modern. I also love the simple black & photos on the wall - we recenlty diy artwork for our dining room.


I really like fabric chairs in dining rooms, it adds a bit for elegance and large mirror bounces so much light around the room - Love it


{ the picutres above are from BHG.com }