


Since then, we added a top trim piece to our doorways using two 1x1s and 2x1 in the middle section. I love how simple the doorway headers now look, to me they really fit the style of our California Rancher.


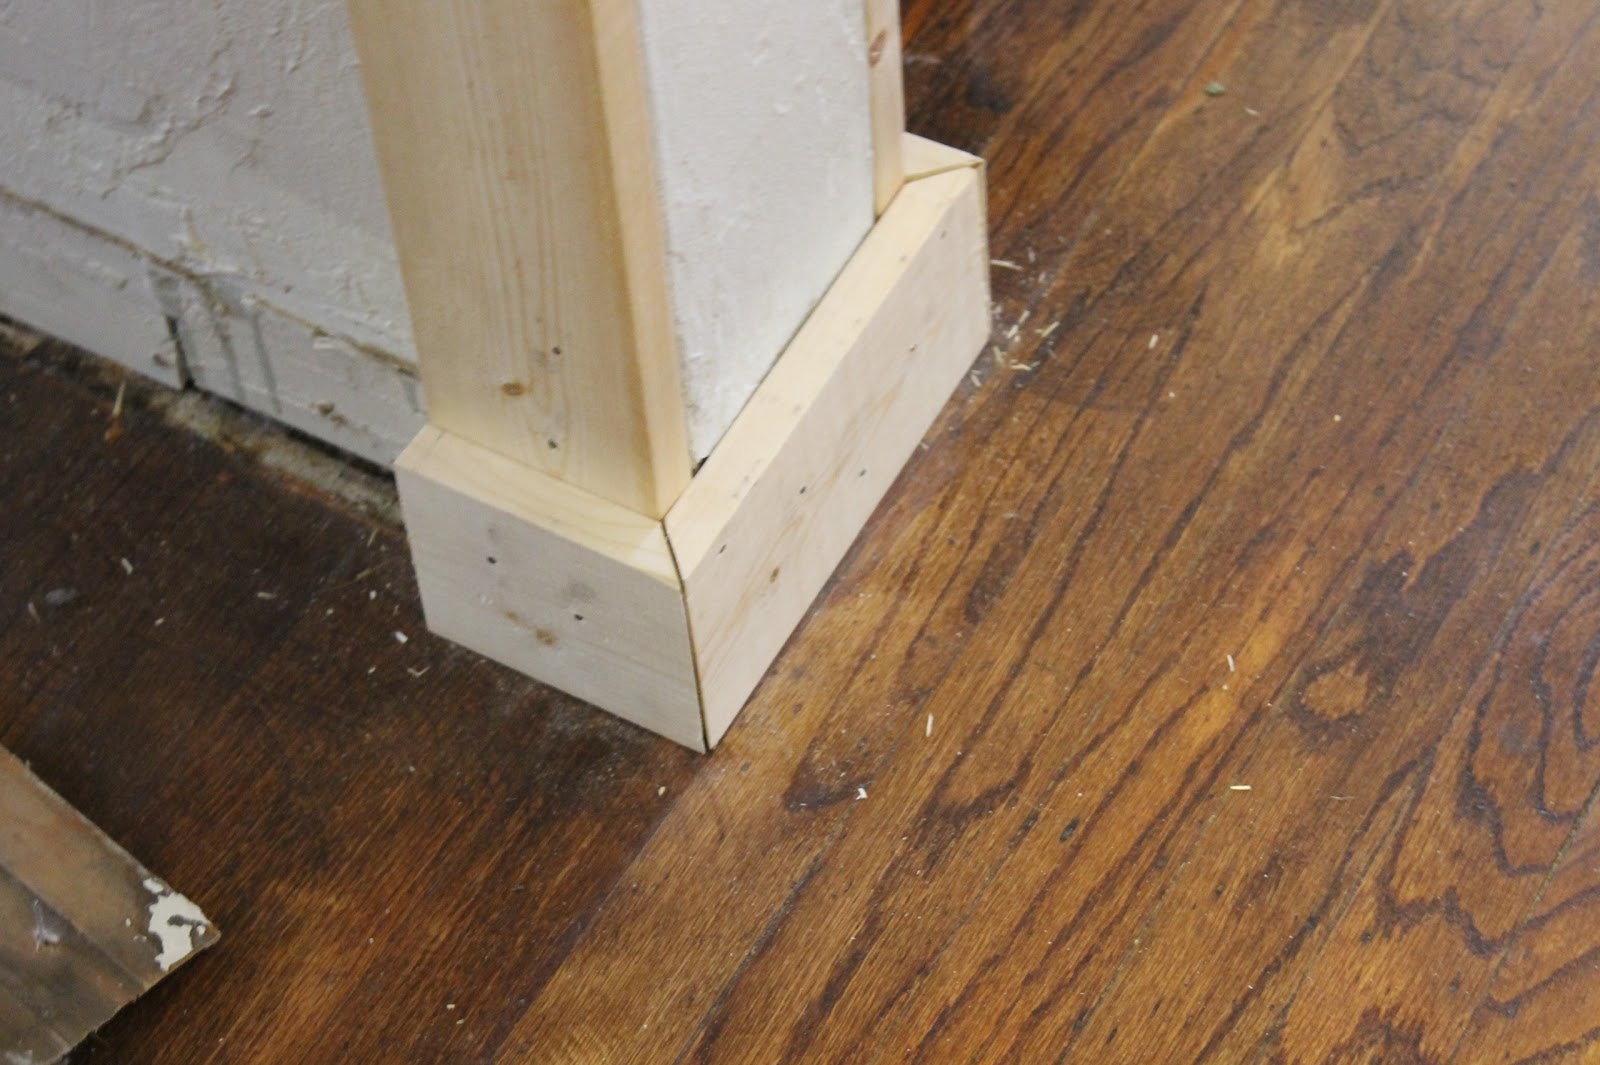
Then we trimmed out the bottom of the doorway piece with the 4x1 piece, with mitered corner cuts. To hide the inside seam of the doorways, we used pieces of lattice. Again we mitered each corner cut. Oh, when I say 'we' I mean Hasani! I marked all the cuts using a 45 degree angle and he made all the cuts.


After the doorways were finished being framed out, it was time for my to get caulky. I had a ton of wood to caulk, a ton! For all the seams, I used caulk to fill in the nail holes and knots in the wood I used wood filler. Our doorway casing project has started a snowball effect around our house. As I've already mentioned, I plan on repainting the our baseboard trim (too bad I didn't get to it over the weekend) So with that said, after seeing how amazing our doorways were looking we decided it was finally time to replace our old dated small front door trim. We like our existing doorway trim that surrounds our garage door, so we bought the same trim.

While Hasani was removing the old front door trim, he discovered a key hidden in the wall. Crazy huh?


Here's how the door looks right now, pre-caulk and glossy white paint.

Another snowball affect: we're finally getting around to added a new floor transition piece between the living room and dining room doorway. We bought an unfinished oak transition, I stained the piece Early American with left over stain from refinishing our hardwood floors last year and then applied a clean coat of polythene (also a left over from our hardwood floors) The new transition piece will help add a cohesive look between our original hardwood floors and our faux-wood floors, we installed two years ago replacing our ugly cracked tile. I'm really happy about this 'snowball affect,' because floor transitions are a good thing.

Next we need to sand, prime and then finally paint our new doorway casings and install our new doorway transition piece. Even though there's still a lot to do, I'm super excited about how doorways look! Oh, how I can't wait to see our DIY Door Casing completed and our baseboards glossy white again. I hope by Monday night, after the baby and tween head to bed, I'll be sanding and then priming our doorway casings and new front door trim.
What do you think of our DIY Door Casing Project so far? Are you in love with the bottom of our doorway baseboards like I am? What do you think our our doorway headers, perfect addition to our little rancher?
Any snowball effect projects happen in your casa lately? Have you found anything odd when your removed baseboards in the past like we have?


0 comments
Post a Comment