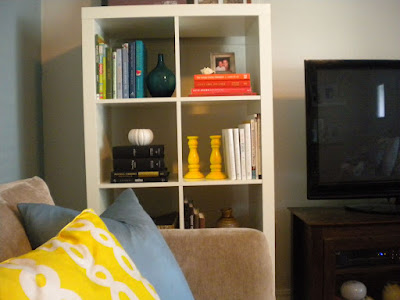
The candlesticks have such a nice smooth glossy finish, I really like how spray paint shines on ceramic items. It took about 3 coats of spray to get a thick coat of yellow.
Did you notice my candlesticks changed shape? Take a second look, yep the original ones above fell to the ground after the 1st coat of yellow paint! So I had to spend another $ .99 cents on the ones above and perform the same update! lol I like the new pair of candlesticks better, then the ones I originally bought. Go figure. Quick budget breakdown, $ 4.98 for the pair - I bought a can of yellow spray paint for $ 3.99 and the candlesticks were only $ .99!!
Are you a huge fan of spray paint for quick updates? Any tips on getting a nice smooth glossy coat? Or are you like me, can't get a nice smooth coat when suing spray paint?


0 comments
Post a Comment